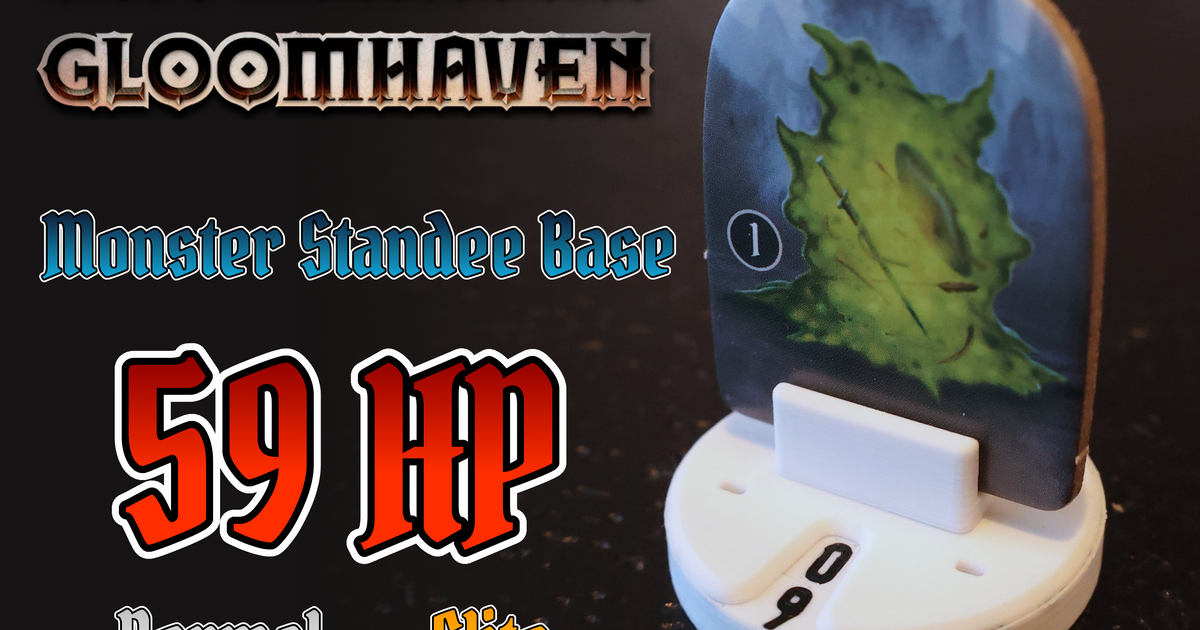
Frosthaven / Gloomhaven monster standee health tracker up to 59 HP
Frosthaven / Gloomhaven monster standee health tracker up to 59 HP
Print Profile(2)


Description
I adapted the original model by @SgtCaffran_841785, tweaked the tolerances to better work on my P1S with 0.4 mm nozzle and 0.2 mm resolution and colored the numbers for easy multicolor-print. I also added the remixed top from @krzysztofk_351979 in one, easy print-ready Bambu project.
About this design
This standee for Frosthaven/Gloomhaven monsters allows for easy tracking of HP using its built-in mechanism to count the 10s digit automatically. You only need to move a single disk to adjust the monster HP from 0 all the way to 59. This also gets rid of accidental rotations of HP like other models have. Other advantages include the option to add condition modifiers as well as being able to read the HP from both sides of the standee. The multicolor-print makes the numbers very easy to read as well!
Print this design
You can use my pre-defined profile that works well on my P1S with the standard 0.4 mm nozzle. I printed about 10 standees so far and had no issues. The profile uses Bambu PLA basic, but I used generic (Giantarm) PLA as well and that also worked without issues.
Note that printing multiple stands at once will result in fewer filament changes/flushes and thus less waste. Use my 5x profile to print 5 standees at once.
Assembly
Step 1
Start with the bottom piece and put in both gears. Be careful to align the gears such that the lower/smaller teeth poke out the sides. I used blue gears to increase the visibility/clarity for this guide.

Step 2
Put the inner ring on top of the bottom piece. The empty number spot should line up with the small gears.

Step 3
Align the outer ring, such that the gear teeth match the notches on the ring. This should match so that the 0 on the outer ring lines up with the empty spot on the inner ring.
If necessary push the holding arms of the bottom piece a litte inwards, so the outer shell can slide all the way down.


Step 4
Finally, add the top piece.


