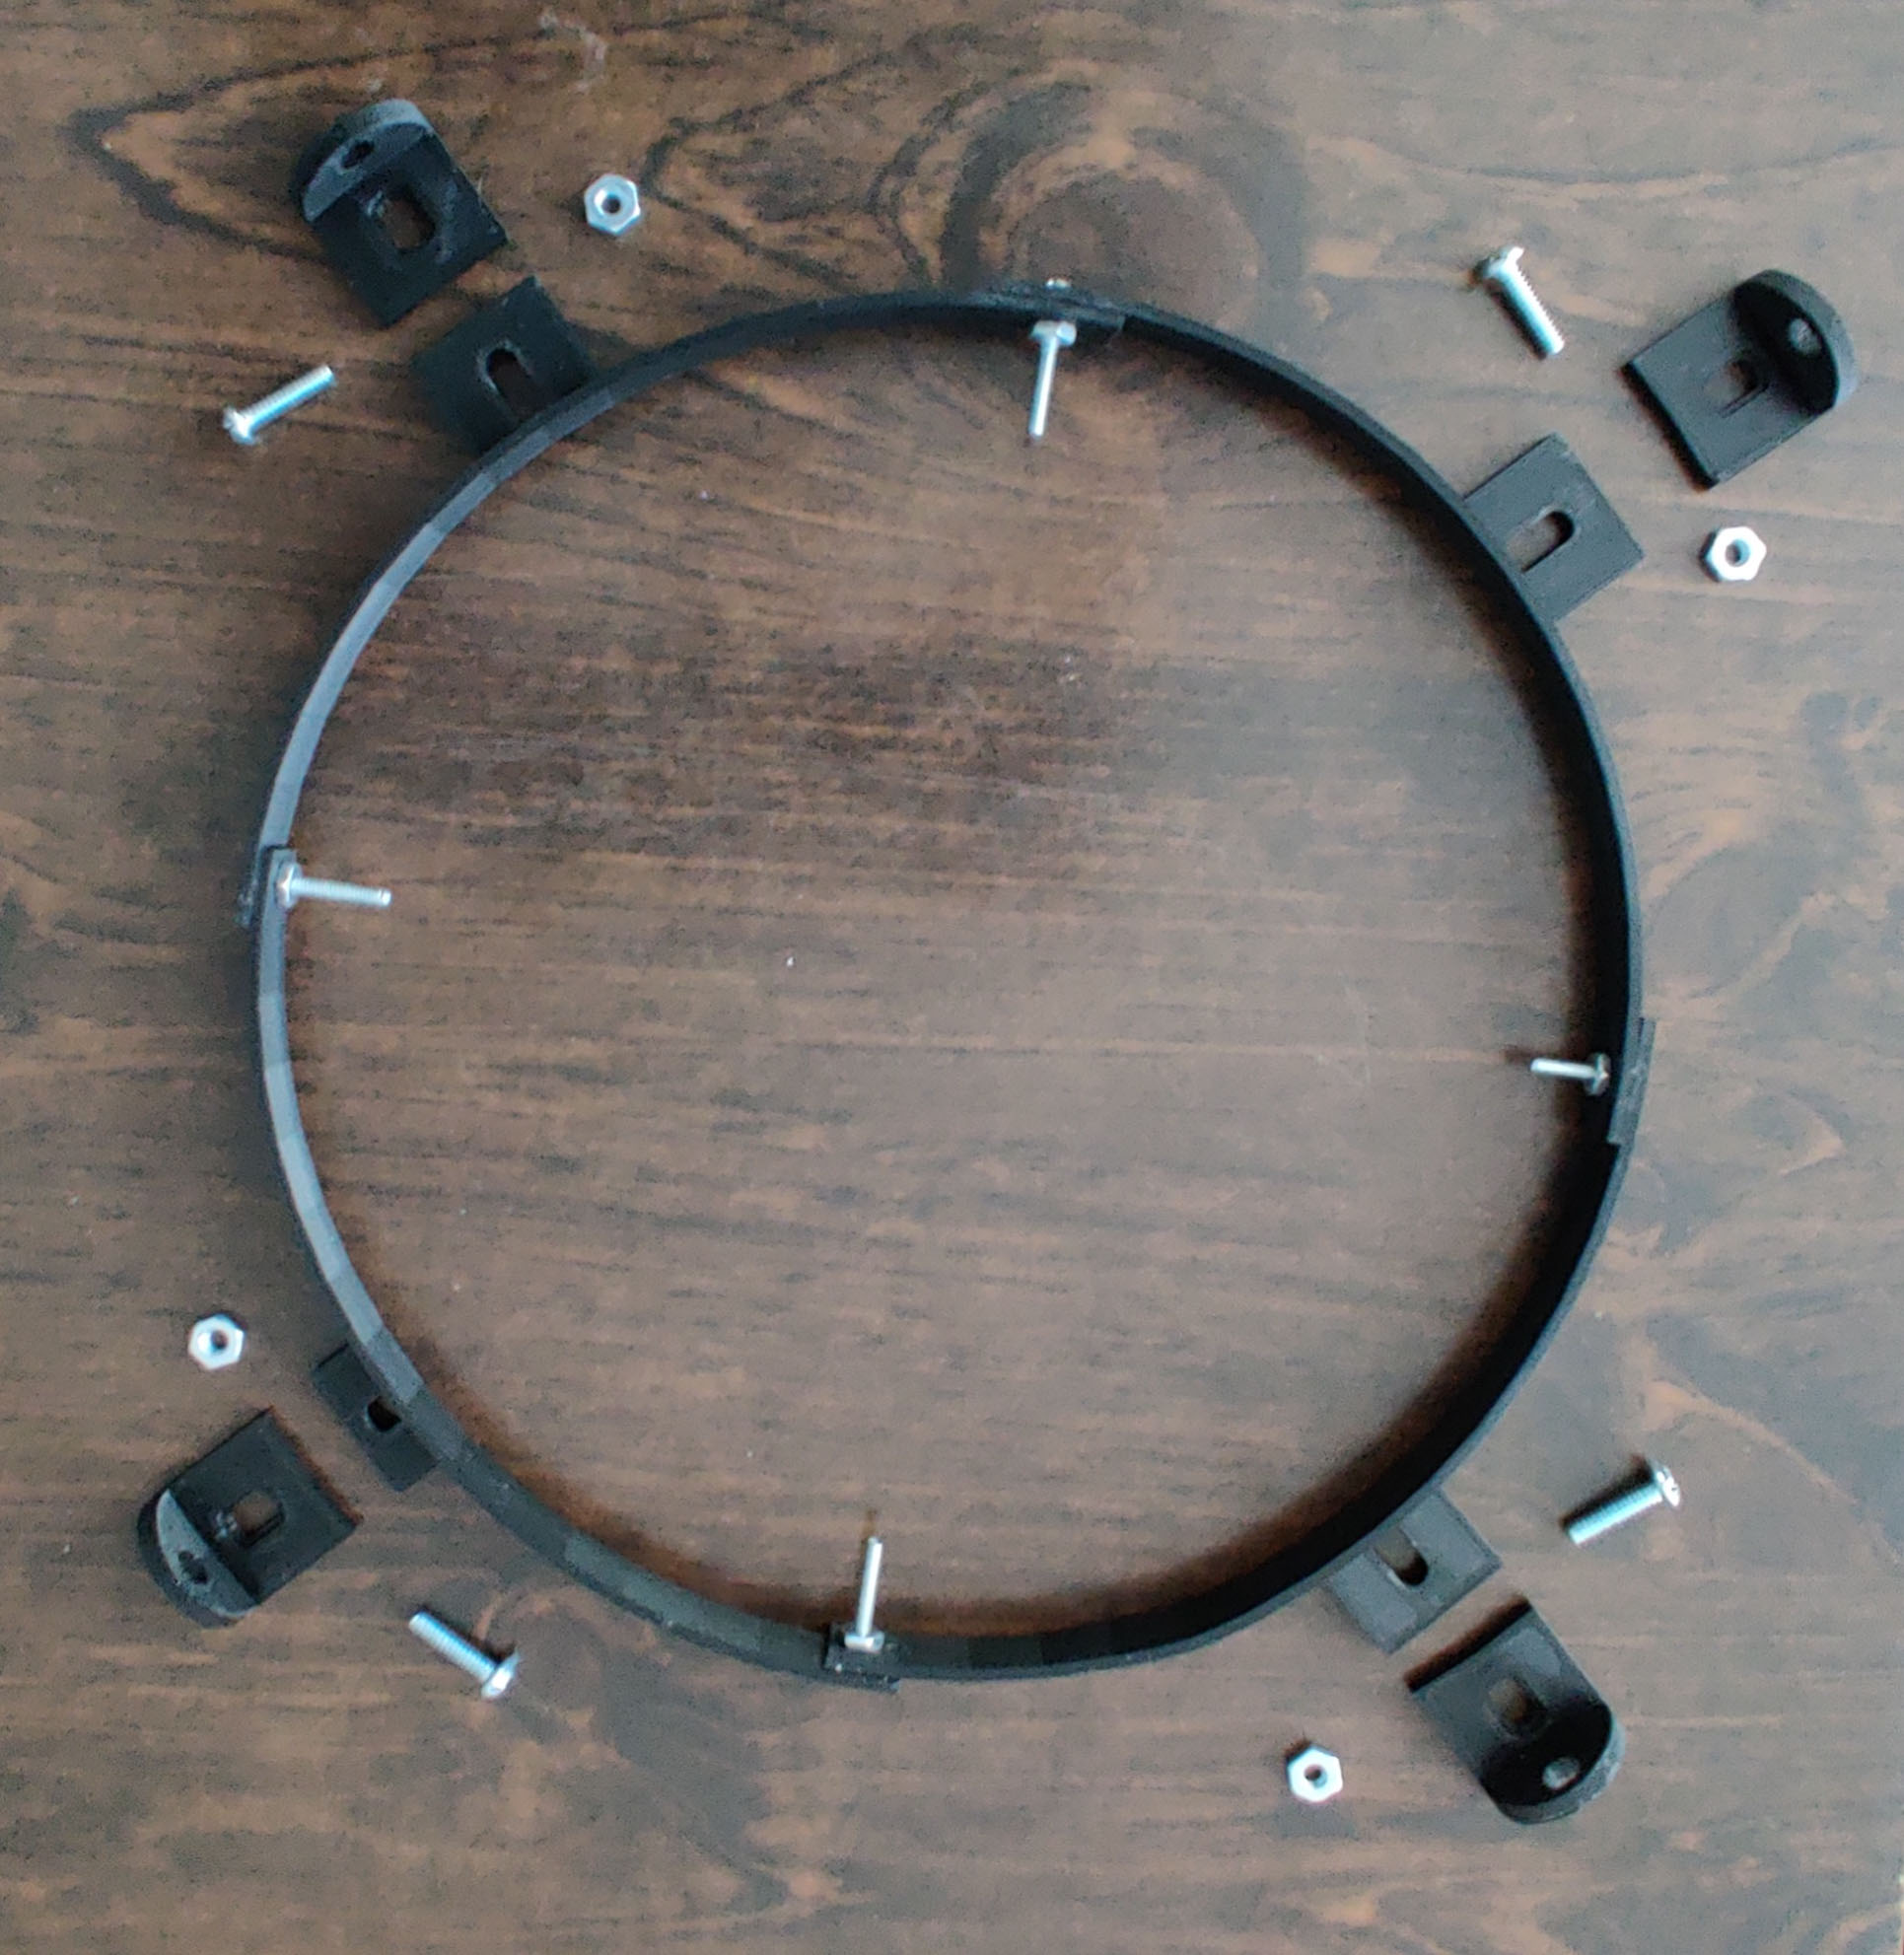
Shroud assembly components for the Explore Scientific ES10 Hybrid Dobsonian.
I designed and 3d printed a shroud system for my Explore Scientific ES10 Hybrid Dobsonian to use in conjunction with a off axis mask with a solar filter to be used for the 2024 Total Solar Eclipse. While this may not work for other telescopes, Hopefully it will provide ideas and inspiration for others with truss designed telescopes. All 3d printed items were printed with PetG or PLA+ filament.
Any use of this design and the implementation are your responsibility to ensure the safety of the user. I accept no liability and your downloading of this design is your release of any future claims of liability of the publisher.
You will need the following for this project:
Top ring:
Shroud ring – top v3a1 x4
Shroud top ring clips v21 x4
#6-32x1in. machine screws and nuts x4
#10-24x3/4in. Machine screws with nuts
Ring joiners x4
Bottom ring:
Bottom Ring Quadrant V1 x2
Bottom Ring Span x2
ES 10 handle inserts x2
Bottom ring joiners x4
#6-32x1.25in. Machine screws with nuts x4
Shroud:
2mm PVA foam sheet 34.75 in. x 36in.
Adhesive Magnetic strip
Black foam project board
Small grommet screw V2 x8
Cyanoacrylate glue (CA)
The top ring will support the shroud by allowing it to hang from the ring suspended above the mirror. The design allows for limited adjustment to position the ring best in the secondary assembly of the telescope. Join the 4 pieces of the shroud ring with CA glue using tone joiner at each junction. The joiners should be placed on the outside of the ring. 4 equally spaced holes should be drilled through ring sections to allow the #6 screws to be placed from the outside and secured with nuts.
The 4 clips will be attached to the ring using the #10 screws. They should be loosely attached to position ring within the secondary assembly and tightened after installation. The top ring assembly will be secured to the secondary with the truss rod screws provided with the telescope.
The bottom ring will be constructed of the 2 pieces of Bottom Ring Quadrant and 2 pieces of Bottom Ring Span. The 2 sections of bottom ring quadrant should be positioned opposite each other. The bottom ring joiners should be glued with CA to Quadrant sections to attach them to the ring span sections.
The slots on the inside of the Bottom Ring Quadrants will allow the nuts for the #6-32x1.25in. Machine screws to be pressed in to make a semi-permanent captured nut. The ES 10 handle inserts should be placed in position on the mirror box and the bottom ring secured with the #6-32x1.25in. Machine screws. Line the inside of the bottom ring with the adhesive magnetic strip and press firmly to secure.
The shroud will be suspended from the top ring using the previously placed #6 screws in the top ring. Punch a hole through the sground 3/4” down from the top at each location of the hanger screws in the top ring. Place a small grommet screw through each punched hole and slide the grommet screw onto the #6 screws. Punch equally space holes along the seam of the shroud to secure it into a tubular form.
Mark the location where the shroud meets the magnetic strip on the inside of the bottom ring. Place another strip of the magnetic strip around the outside of the shroud so it mates with the strip on the bottom ring.
Use the foam project board to make a cover for the mirror box with a hole cut to allow the shroud to extend down into the mirror box. Although probably not needed, I placed adhesive foam weatherstripping on the foam cover where it meets the shroud to provide a little more of a light seal to prevent stray light from entering the mirror box.
:format(webp)/https://fbi.cults3d.com/uploaders/25408535/illustration-file/cf85a5c4-a185-43a5-befb-800b570ff84b/IMG_20240417_151113_edited.jpg)

/https://preview3d-images.cults3d.com/b68hg0o03ij8pwze44qcqbncx8hu)
/https://preview3d-images.cults3d.com/yi55nara673upm1q94w3gqzl9494)
/https://preview3d-images.cults3d.com/baih9csecg4rgfxbbnznthugv4kb)
/https://preview3d-images.cults3d.com/a71ddl2fr1mduwoxeq2gn0q0cmp5)
/https://preview3d-images.cults3d.com/0tm550dq4ryfpqjvnlmj3a0mrwyb)
/https://preview3d-images.cults3d.com/q8mgajm84ynwgyy15ruk63uwym37)

:format(webp)/https://fbi.cults3d.com/uploaders/25408535/illustration-file/704f7caa-9da0-412e-906a-edebfdeebfc9/IMG_20240319_105230.jpg)
:format(webp)/https://fbi.cults3d.com/uploaders/25408535/illustration-file/ce83b99a-561d-42f2-aa2b-46012823acf2/IMG_20240417_151107_editedbb.jpg)
:format(webp)/https://fbi.cults3d.com/uploaders/25408535/illustration-file/ddf38636-1fa1-425f-9b66-0fa1c739a75b/IMG_20240417_151107_edited.jpg)
:format(webp)/https://fbi.cults3d.com/uploaders/25408535/illustration-file/d2525e2b-3992-41d1-8815-fd5c599785a5/filter.jpg)