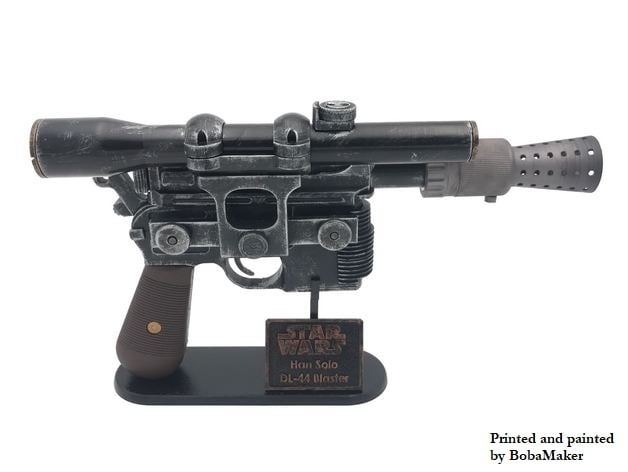
Han Solo Blaster DL-44 - PortedtoReality remix
Han Solo Blaster DL-44 - PortedtoReality remix


Print Profile(0)
Description
First and foremost, I want to acknowledge PortedtoReality for their outstanding work on the Han Solo Blaster DL-44, to whom all credit is due. My experience of crafting this blaster has been truly enjoyable. Over the course of a week, I undertook a remix of this design, aiming to incorporate missing design elements, enhance its structural integrity (to make it more child-resistant), and make adjustments to elements that weren't conducive to 3D printing.
My aversion to using adhesive stems from my desire to create designs that minimize or eliminate the need for glue. You might wonder why I harbor this dislike for glue. Well, it's because my children often engage with my projects and, inevitably, accidents happen. Consequently, I prefer to configure my projects in such a way that individual components can be easily replaced without necessitating the reprinting of the entire project.
In this package, you'll find both the original files and my remixes, conveniently organized in one location. Within this collection, there are 22 .stl files that I either added or modified, with each altered file appropriately labeled with 'REMIX' appended to its filename. Here's a breakdown of the specific modifications I've made:
- Upper Receiver and Barrel: The barrel and receiver have been threaded. In the original design, you can no longer remove the receiver because the bull barrel interferes with the pistol frame. I also redesigned the section of the receiver that interfaces with the sight leaf so that it can securely lock into it without needing glue (did I say I hate glue?). I added support tabs at the front of the receiver to support the bolt better when closed. The barrel as been redesigned internally to print smoothly with zero support.
- Bolt – I have added a firing pin detail to the bolt like the original Mauser C96.
- Pistol Frame and magazine plate: I have added an M4 nut support on the inside of the receiver in the magazine well for attaching the scope crossbar. I have modified the frame and magazine plate to connect securely without glue (again, I hate glue).
- Sight Leaf: redesigned to securely attach to the upper receiver (with no glue). I removed the number markers on the sight because they were too small to print clearly.
- Grip pins – as others have stated, they were too long. I shortened and beveled them.
- Trigger and trigger mechanisms – modified slightly to correct a clearance issue with the upper receiver – but he fitment is still tight. I also modified the design to allow clearance for a rubber band/hair tie.
- Scope clips – added holes for threading a real screw (for extra unnecessary detail). In my case, I added M2 screws into the scope clips. The indexing studs on the clips have been shortened so you don’t see them with looking through the scope.
- Hammer, Safety, and mechanism – I added details to the hammer to more closely match the C96 and redesigned it to allow clearance for the M4 screw. The safety has been redesigned to more closely match reference images the C96 – and it now articulates (because, why not?!).
- In the hammer mechanism, I added an M4 nut recess for attaching the scope crossbar. The hammer pin has been lengthened.
- The thumb nuts have all been redesigned to press fit over an M4 screw head.
- Scope – The scope has been threaded at both ends as well as the ‘scope lens’. I also created threaded insert so you can add glass, or (in my case) clear blister pack plastic cut to fit. The rear insert has a reticle built in to it.
Parts you will need:
3 – M4X16 screws/nuts for the scope crossbar
1 – M4X8 screw to connect the flash hider to the barrel
4 – M2X8 screws (optional detail for the scope clips)
This is a link to the Hex socket heat cap screws I used from Amazon: https://www.amazon.com/Chunyee-Assortment-M2-M3-M4/dp/B0C2Z493J7?ref_=ast_sto_dp
If you use screws, you will NOT need to print on the following parts:
08_flashhider_setscrew.stl
18_crossbarPin.stl
37_thumbNutPin.stl
Print Settings
Printer Brand:
Creality
Printer:
Voxelab Aquila X2
Rafts:
No
Supports:
Yes
Resolution:
.12
Infill:
20
Filament: Sunlu PLA+
Black, Silver, Brass
Category: Props